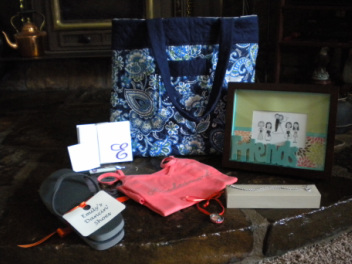
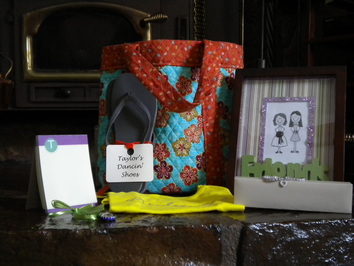
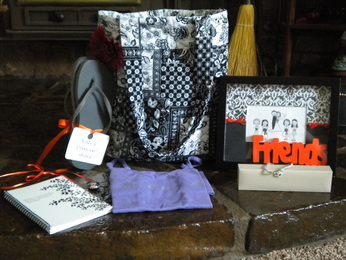
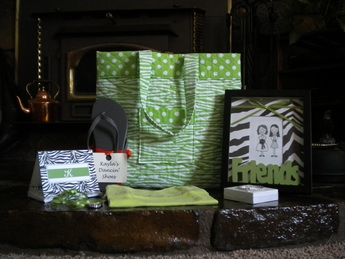
BM gifts include: Tote bag, picture frame, Day of shirt, flip flops for the reception (or that day LOL), various Vista print items, bottle cap necklace/bracelet, diamond heart bracelet (NOT DIY) and not pictured DIY coasters
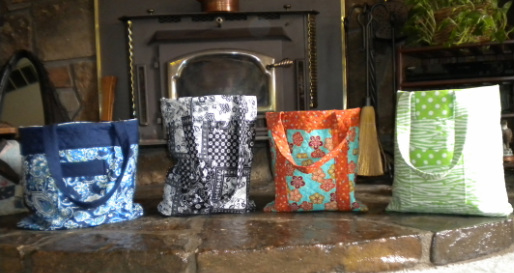
Bridesmaids totes
I'm using these as their gift bags. I'll put all their gifts in the totes and put some tissue paper in the top and BAM amazingness!
I'm not including instructions for this one cuz you either know how to sew or ya don't OR ya have a Mom that is patient enough to teach you :-)
I'm not including instructions for this one cuz you either know how to sew or ya don't OR ya have a Mom that is patient enough to teach you :-)
Not really DIY but Gotta love 'em
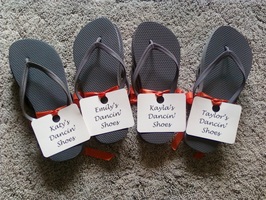
I picked up some Old Navy flip flops this winter for about $.50
The girls can choose to wear them or not at the reception.
But they are great recovery from heels!
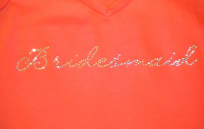
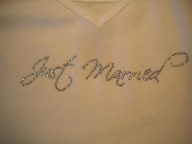
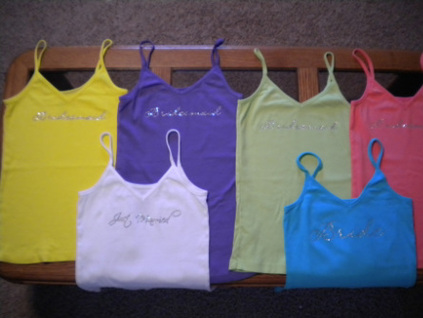
Day-of-Shirts
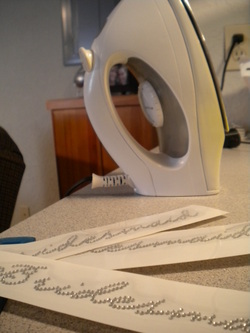
I ordered several different pre-made iron-ons including: 4 Bridesmaids, 1 Bride, and 1 Just married.
I got pre-made wedding iron-ons from http://www.jubileerhinestones.com/Bridal-Wedding-Transfers/
Theses were super simple and pretty fast to make. I ordered my camis from Old Navy. They were on average $4 a shirt.
All you need is:
IronPre-made iron-ons
Shirts
Cardboard or a folder
Optional- Ruler
How to:
1. Iron the shirt to get any wrinkles out and to get the shirt warm
2. Us the ruler to make a line indention to help make sure the iron-on is straight
3. Peel the back from the iron-on and place onto shirt
4. Iron the rhinestones through the plastic (make sure to touch every rhinestone)
5. Let the ironed area cool completely
6. Peel off the plastic covering
7. Re-iron the rhinestones to be sure none came up glued when removing the plastic.
8. Let cool and then enjoy!

Coasters
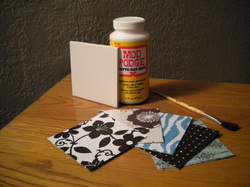
What you need:
Modge Podge
4 1/2 by 4 1/2 tile
Scrapbook paper
Paint Brush
Felt dots
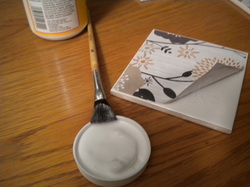
How to:
1. Cut out scrapbook paper 1/4 of an inch smaller than your tiles
2. Paint tiles to desires color if needed
3. Use your Modge Podge to glue the paper to the tiles, read package to see how long you should let it set
4. Apply 5-6 coats on top letting dry in between coats (Modge Podge goes on white, but drys clear)
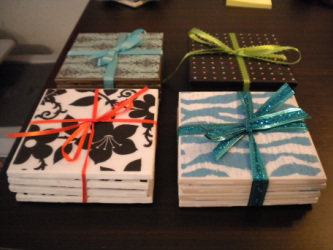
5. Apply felt dots to bottom for non scratch surface
6. Package for pretty gift giving, can be a small box or just tie a ribbon around them
***Must wait at least 20 days for Modge Podge to fully cure before placing a hot beverage on the coasters
1. Cut out scrapbook paper 1/4 of an inch smaller than your tiles
2. Paint tiles to desires color if needed
3. Use your Modge Podge to glue the paper to the tiles, read package to see how long you should let it set
4. Apply 5-6 coats on top letting dry in between coats (Modge Podge goes on white, but drys clear)
5. Apply felt dots to bottom for non scratch surface
6. Package for pretty gift giving, can be a small box or just tie a ribbon around them
***Must wait at least 20 days for Modge Podge to fully cure before placing a hot beverage on the coasters

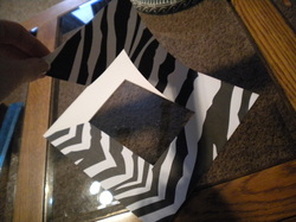
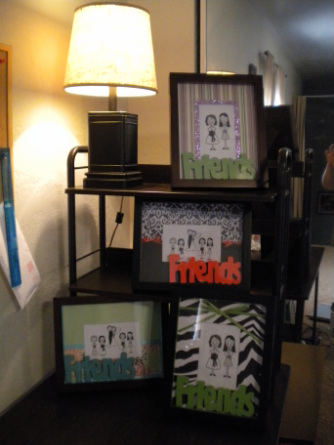
Picture Frames
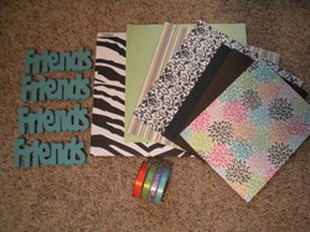
All you need is:
Cheap shadow box picture frames
Scrapbook paper
Ribbon
"Friends" is a pre-made wooden cut out from Michaels
Glue
How to:
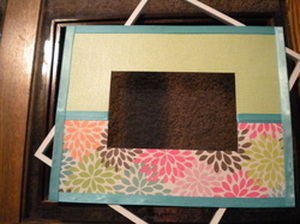
1.Trace the photo matte onto the scrapbook paper and cut (don't forget the inner rectangle)
2. Glue onto matte
3. Take matching ribbon and decorate to your liking, I did each frame a little differently
4. Paint "friends" to match overall look
5. Glue "friends" onto spacer included in shadow box frame
6. Put frame back together an enjoy