Invitations
These were inspired from Exclusivelywedding.com. They became a lot more of a hassle then I had originally intended. I am definitely glad I didn't wait until the last minute to make these. Switching between computers with various versions of Word became a HUGE problem. And deciding to change my designs was also interesting. Overall I think it turned out really well.
How I made them....
I special ordered paper from http://www.xpedxstores.com/ there may be one near you if not there are plenty of other places to find paper.
I ordered 14 x 11 paper
To make the pocketfolds:
1. Measure the paper to 10 inches and cut that extra inch off (don't trash!)
2. Cut the edge that is 10 into two 5inch sheets, you should now have two sheets that are 5 by 14
3. Fold in half to create a 5 by 7 inch card
4. Use paper cutter or exacto knife to cut slit for ribbon in crease
5. Using the left over inch of paper, cut 7 inches wide. This is going to be your pocket
6. Attach pocket to left side of open card
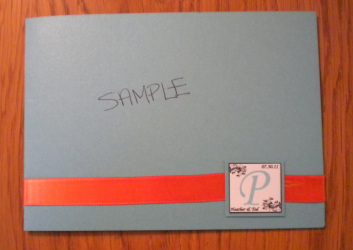
7. Run ribbon through slit and attach in front
* I created the monogram to cover the area where the ribbon overlapped, you can also tie the ribbon in a bow
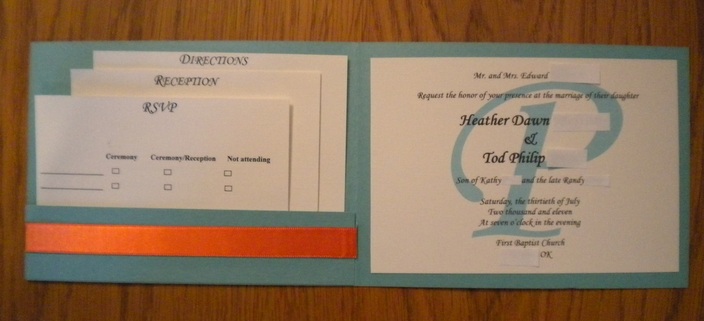
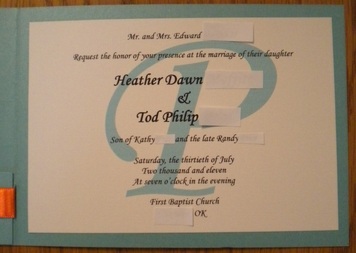
8. Attach main portion of invitation to the right side of the card and place inserts into pocket
I created the inserts and main portion of the invites on Microsoft word, however going from my personal laptop that has Vista and then printing for my Mom's computer created large problems with the font I had chosen and the ability to move text boxes.
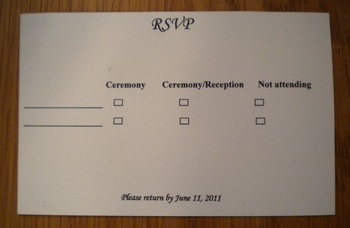
The RSVP are 3.5 in by 5.5in which I believe is the minimum size for mainly a postcard. On the backside we have already printed our address and placed a stamp so that they can just check mark the boxes and throw it into the mail. The ACTUAL RSVPs have specific people names on them instead of just the __________. We wanted to know exactly who was coming. This took alot more time then just printing blank one's for people to fill in their name.
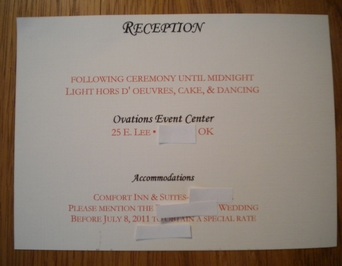
The Reception card is 4in by 5.5 in it was made to let people know there will NOT be a full meal and where we have already blocked off a set of rooms if they want to stay with everyone else at a discounted rate.
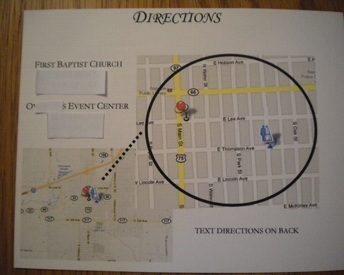
The Directions card is 4.5in by 5.5 in and was made at http://www.weddingmapper.com on the website it tells you step by step how to copy the map into your invites. Its very very helpful since the majority of my guests are traveling from 3-4 hours away.
On the backside of the Directions card are written directions from the north and the south to the ceremony, written directions from the ceremony to the reception, and from the reception to the hotel.
*The inserts are staggered just in case they aren't cut perfectly it won't be so obvious to the guest.
*I did both written directions AND a map just in case individuals are better at map reading OR following written directions.
